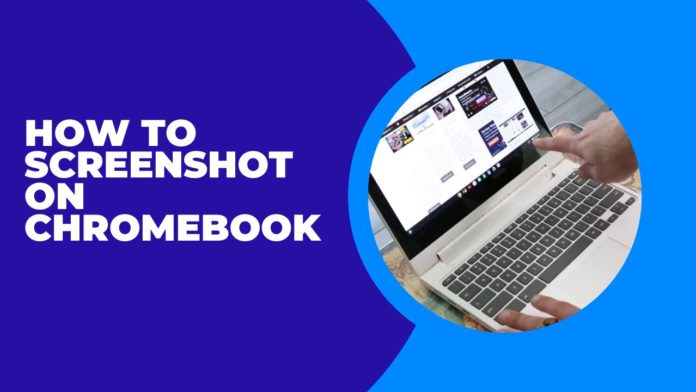
Making screenshots on a Chromebook is super simple and can make your life a whole lot easier, whether you’re saving a funny meme, documenting something important, or sharing your screen with friends or colleagues. In this guide, we’ll cover everything you need to know about capturing screenshots on a Chromebook, using an engaging, informal tone to keep things fun and approachable.
Table of Contents
Different Methods to Take Screenshots on a Chromebook
Depending on your preferences and the type of Chromebook you’re using, there are multiple ways to snap that perfect screenshot. Here’s a breakdown of all the options:
1. Taking Full-Screen Screenshots
Using Keyboard Shortcuts
The easiest way to capture your entire screen is by using a simple keyboard shortcut:
- Ctrl + Show Windows: This captures everything visible on your screen. The Show Windows key looks like a rectangle with two vertical lines next to it and is usually located in the top row of your keyboard.
- Ctrl + F5: If your Chromebook doesn’t have a dedicated Show Windows key, this shortcut does the trick.
Using the Screenshot Key
Some Chromebooks come with a dedicated Screenshot key. If yours has one, just press it, and voila—your entire screen is captured!
2. Taking Partial Screenshots
Using Keyboard Shortcuts
Want to capture just part of your screen? Here’s how:
- Ctrl + Shift + Show Windows: This shortcut changes your cursor to a crosshair. Click and drag the crosshair over the area you want to capture, and release to take the screenshot.
Using the Screenshot Toolbar
For a more visual approach:
- Press Shift + Ctrl + Show Windows to open the Screenshot toolbar. From there, you can choose to capture the entire screen, a specific window, or a custom region.
3. Taking Screenshots on Chromebook Tablets
If you’re using a Chromebook tablet (no physical keyboard), the process is a bit different but equally straightforward:
- Power + Volume Down: Press these buttons simultaneously to capture the screen.
Where to Find Your Screenshots
After snapping a screenshot, you’ll get a confirmation notification at the bottom-right corner of your screen. Here’s where to find your saved files:
- Downloads Folder: Screenshots are automatically saved as .png files in your Downloads folder. Open the Files app and navigate to Downloads to view them.
- Quick Access: Click on the notification to open the screenshot directly without digging through folders.
Pro Tip: Organizing Your Screenshots
To keep things tidy, consider moving your screenshots to a dedicated folder within the Files app. Just right-click on the file, select Move to, and pick your desired folder.
Handy Table for Quick Reference
| Task | Shortcut/Action | Device Type |
| Capture Entire Screen | Ctrl + Show Windows OR Ctrl + F5 | Chromebook with keyboard |
| Capture a Selected Area | Ctrl + Shift + Show Windows | Chromebook with keyboard |
| Open Screenshot Toolbar | Shift + Ctrl + Show Windows | Chromebook with keyboard |
| Capture Screen (Tablet Mode) | Power + Volume Down | Chromebook tablet |
| Access Screenshots | Open Downloads folder | All Chromebooks |
Bonus Tips and Tricks
Use Extensions for Extra Features
Want to annotate or edit your screenshots? Extensions like Lightshot or Awesome Screenshot add powerful tools for editing and sharing your captures.
Use the Screenshot Toolbar for Screen Recording
Did you know you can record your screen using the same toolbar? Simply select the screen recording option instead of a screenshot to create videos of your Chromebook activities.
Share Screenshots Instantly
Once you take a screenshot, right-click on the file and select Share to quickly upload it to Google Drive or send it via email.
Conclusion
Screenshots are an indispensable tool for work, school, or just sharing cool stuff with friends. With these easy methods tailored to your Chromebook setup, you’ll be a screenshot pro in no time. Whether it’s capturing the entire screen or just a snippet, the flexibility of Chromebook’s tools ensures you’ll never miss a moment. So go ahead, give these shortcuts a try, and make your digital life a little smoother!


